I have always wanted to order yarns from Yanagiya ever since I started subscribing to their newsletters. After rummaging through the website with my very limited Japanese, my conclusion was that they don't ship to outside of Japan. Big thanks to a fellow blogger 溫妮 for letting me know that she was able to order and receive packages from Yanagiya in China. And so, I thought I would give it a try. This time I was ordering yarn for one of Joey's Crochet-Along projects from August. Yes, it was not a typo, "August"... I am so late this time because I just couldn't find the right yarn for the project. It needs a sports or fingering weight yarn. Since it is a summer top, I ruled out wool and alpacas. I didn't want to use pure cotton, and I also wanted a variegated color... The choices are so limited. I also thought by using the pattern's suggested yarn, I should have a better chance at succeeding with this project.
這次買線的過程算是成功!除了第一次訂時不知為什麼一直出現"System Error",不知道是網路有問題還是怎樣,想說隔兩天再來試試看,後來就沒問題了。這次訂的線本來沒存貨的,樂天柳屋有寫信來通知說已經向廠商訂貨,等進貨後就可以寄出。所以又等了兩個禮拜才收到寄件通知,e-mail是星期二收到的,星期六郵差來按門鈴時我還沒想到,開門一看到包裹時真是好開心呀!居然這麼快就到了!這比有些國內包裹效率還要好呢!這次郵資是1260日圓(800公克),我覺得還可以接受啦!
The purchase process, well, I consider it a success. I had problems the first time I tried to order, kept getting the "system error" message. I am not sure why, my guess is I was probably trying to order during their system maintenance window? Anyway. I did not get those messages when I tried to order again. The yarns I ordered were actually out of stock. They sent me an e-mail to let me know that they have ordered more from the manufacturer and would ship once the stock was received. And so I waited for another two weeks before the shipping notice came. I got the notice e-mail on Tuesday, and the package arrived at my door on Saturday. I did not expect it to be so fast, I was so happy! :D I ended up paying 1260 yens for shipping (800 grams), I think it is acceptable.
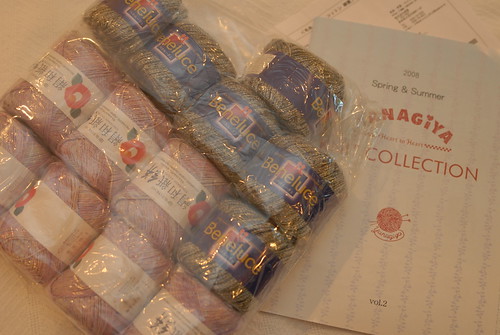
這次買的線,還附送一本織圖
My yarn purchase, and the free pattern booklet that came in the package
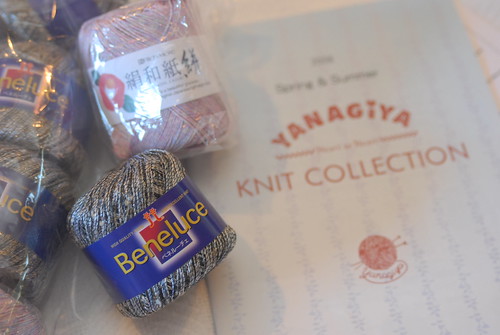
每一顆線都用塑膠袋分別包裝(好"剛忽"喔...)我買的是Beneluce,另外那個是幫人買的,就不拆來照相了。
Each ball of yarn was individually wrapped in plastic. I bought the "Beneluce", the other yarn was for someone else and thus I did not unwrap it for the photo shoot.
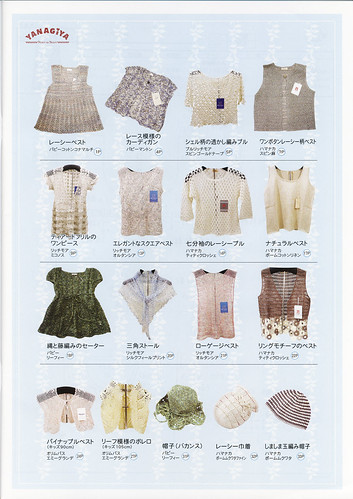
附送的織圖有些真的很不錯呢,像這次Rich More 99封面,封底那兩件美衣都在這裡面,可惜我書早就買了...
Some of the projects in the free pattern booklet are really nice, such as the cover tunic and the back cover top from the Rich More 99 issue. Too bad I already bought the book...
上次有格友想知道如何向柳屋訂購,以下就是購物步驟(我的日文不好,大多是靠漢字來猜意思,整個過程中我都有用Babel Fish來翻譯 - 日翻英,翻譯出來的句子通常都不順,可是意思可以看的懂就好啦!有沒有人知道那個翻譯器更好用呢?):
People has asked me how to order from Yanagia, and I promised to share. The following is my order process (my Japanese is very poor, most of the time I guessed based on the Chinese characters, and I used Babel Fish for translating into English throughout the entire process. The translation for the most part was not very good, but as long as I could figure out the meanings, I could continue.)
決定好要買的線,選定色號和數量後,放入購物車:
Once you decide on the yarn, select the color code and quantity, click to add to shopping cart:

購物車內容,如已選購完畢,按鍵開始結帳程序:
The content of the shopping cart. If finished shopping, click the button to continue check-out:

會員登入帳號及密碼 (我沒加入會員):
Member login user ID and password (I did not join the membership):

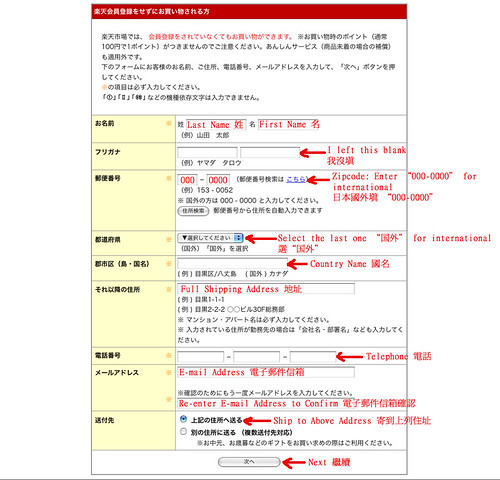
填寫個人資料:
Enter personal information - name, address, and such:
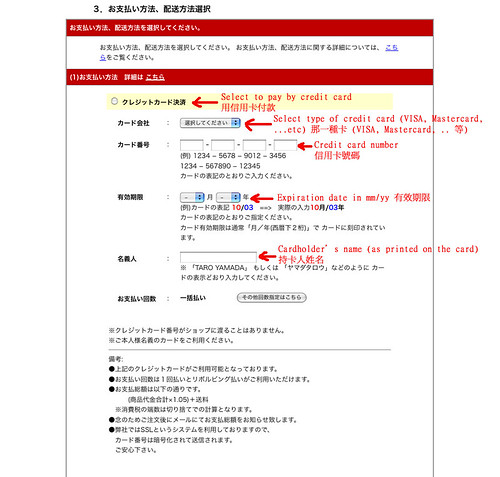
選擇付款方式:
Select payment method:
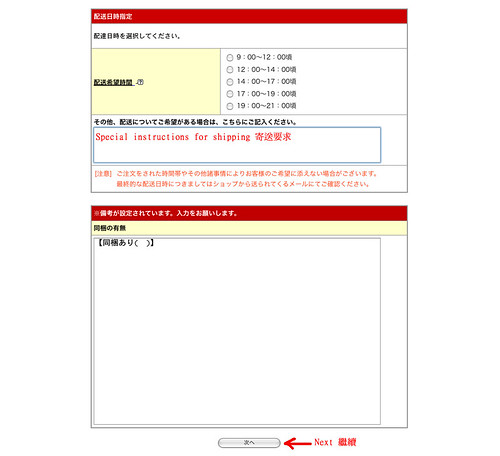
包裹寄送要點 - 這裡我用Babel Fish翻譯出來的直接copy進去,要求用最便宜的國際運費率 (不知道翻譯出來的句子對不對哩?他們也沒再回信來問就是了...):
Special instructions for shipping - I directly copied Babel Fish's translation into this area, asking for the lowest shipping rate (I don't know if the translation makes sense, I did not get any questions from them though...)
"Please use the cheapest rate for international shipping. (国際海運のために最も安い率を使用しなさい。) Thanks. (ありがとう)"
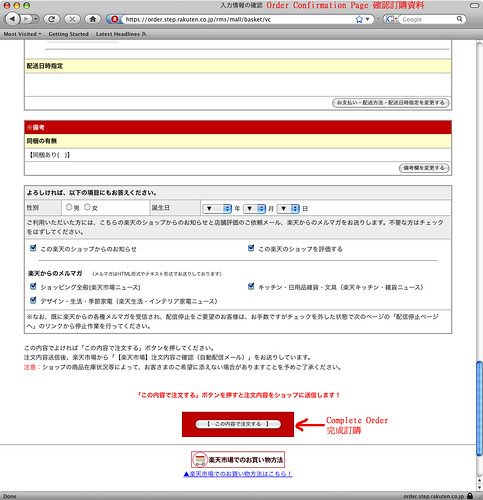
最後確認一下購物明細和所有資料,按鍵便完成訂購啦!
Confirm the purchase content and all information, click to complete order.
這是我訂購的過程,因為有格友想知道,所以登出來與大家分享,如果你也有一些購物心得,歡迎分享喔!
This is my order process. Because some of you asked to know, here I am sharing it with you. If you have other tips or similar experiences, I would love to hear about them!


 Silver Belle Cardigan in Debbie Bliss Cashmerino Aran - 85%
 Rusted Root
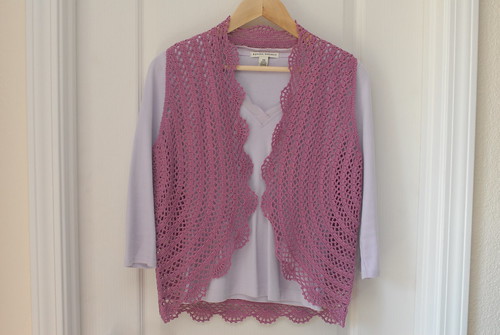
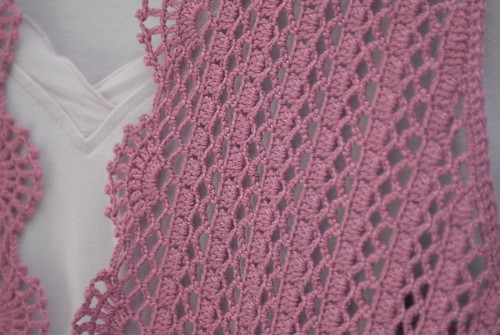
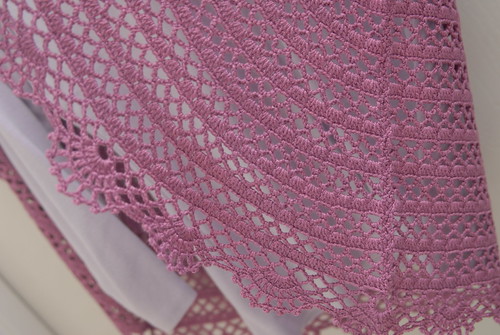
 Purple Crochet Bolero Vest 紫紅半圓鉤針背心
 Seascape Stole 海景披肩
 Anthropologie-inspired Chunky Knit Shrug 粗編小外套
 Long Lacy Vest 長蕾絲背心
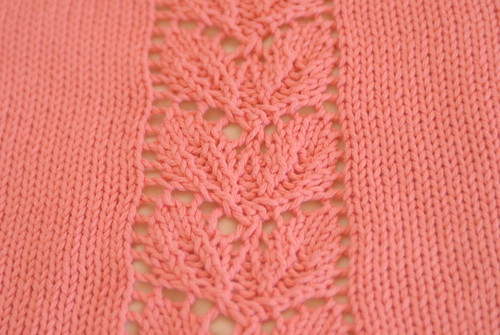
 Cobblestone Pullover
 Lacy Babydoll Tunic
 Ruffle A-Line Tank
 Cream Lacy Half Sleeve Bolero
 VK Cabled Shrug
 Tweedy Diamond Cardigan
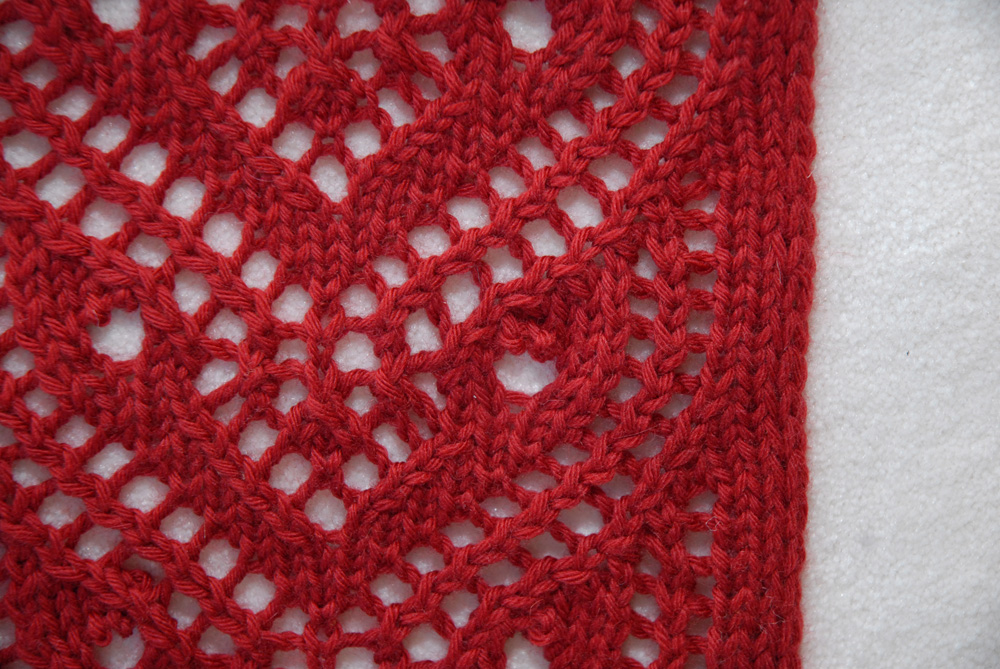
 Red Capelet 紅色斗篷